Sunday, February 2, 2014

Small Signal RF Amp - Rev 03

Update added at end of post.

I corrected the layout of my Small Signal RF Amp as described in the previous post. This time I printed both the Front and Back side of the layout for use with the Toner Transfer Method.

This photo of the etched board was taken with back light, which shows good alignment with the front side hole images. Actually, only two holes will be drilled, they will be used to mount the power header.

View through the board via Back-Light
The Front of the Completed Board
The Back
Now for some performance tests.

But, for a quick test, I tried it as an input amplifier for a receiver, it passes signals, but more proper testing is needed. I am sure it will work best as an IF Amplifier.

Some Project Background

For a transfer, I normally use a modified laminator (modified to set higher temperature at 350F or 176C). But for this project I wanted to use the Clothes Iron method. My previous attempts to use the clothes iron were less than satisfactory, probable because I did not know what I was doing.  Now with more knowledge and understanding of what makes for a good transfer, the results speak for it self. It is all about; Board Preparation, the right Temperature, Time, Pressure and Transfer Media. I will go into the details in a future post.


UPDATE: Feb 2, 2014

I just noticed an "0" was missing from the date/time on the back side image, but then it was missing on the upper back-light image also, which became the finished board. It must have just not transferred - go figure?


--

Saturday, February 1, 2014

Small Signal RF Amp

I have had an idea for an small signal RF Amplifier that I want to try. LTSpice suggest the gain will be good and the linearity appears to be good, or at least that is what the LTSpice FFT plot suggests. This Amp is similar to those that I have used in my Digital 15 Watt Power Amp, but biased for linearity.

My Goal for this circuit is Low Part Count and good Performance. And, as always, a major goal for all of my projects is to make them as Small as my Eyes, Nerves and Methods permits. Yes, I know there are published circuits that may work better, but this is my attempt.

This layout is a single-sided board, with ground plane on the backside. The SMA connectors, connects all ground planes together at the circuit board edge. A layout for a commercial manufactured board would include many via's to assist with ground plane connections.

The first Toner Transfer (TT) version of the circuit had a schematic error (my screw up, I was just to quick on the print button). The second version is shown here.

Etched and
Toner was Removed Underwater with Scotch Bright

Solder Wiped
and Ready for Cut and Part Installation
But alas, I made the power pads too small and they pulled up with only a slight tug on the cable, layout will need to be re-done.

Circuit Complete
with Jury Rigged Power Cable

The PCB is 0.6 x 1.1 inches

The circuit performance tests will have to wait until tomorrow. I will have to devise some interesting tests. Noise Figure, Gain and Large Signal behavior are things I am interested in checking.

On this Rev 02, I forgot to add a Power LED, so I am now working on Rev 03, which will correct all of the known layout problems.

--


Sunday, January 19, 2014

More Toner Transfer Method - PCBs

Update added to end of post.

My Son and I are working on a project that will use a microcontroller and air valves to control air cylinders. For the prototype, we need an output from the micro at 3.3 volt to drive the air selenoid at 12 volts. The circuit chosen consists of two transistors and a FET.

I created the small circuit using the Toner Transfer Method (TT) as shown below. For the prototype we only need one copy, but I always print more than necessary. Later twenty circuits will be ganged into a single circuit with single I2C input and an I/O expander to address each air valve.

Toner Transfer Method - Toner Still Attached
each Circuit is 0.7 x 0.7 Inches
I have read on many blogs and forums where people have stated problems with reliability using the Toner Transfer Method.

But, I get very-very good results. Most of my Ham Radio TT PCB use 6 mil traces with 6 mil spacing, and with cross-hatched copper pour areas. I occasionally use solid copper pour with equally good results. Note: this board uses larger traces.

Close Inspection - No Flaws
This board was completed within 10 minutes of pressing "Print".

Note: Double sided boards take only about twice as long to finish.

The only real concerns of DIY Toner Transfer Method created boards is; the lack of easy "Via" and plated holes. With a little creative design, most of these concerns can be worked-around, using part leads and short wire though some holes.

I find Toner Transfer Method boards; Quick, Easy, Fun, Satisfying and with good Quality - I recommend TT for all hobbyist.


I am considering creating a video of my process, showing that very good results can actually be achieved.


UPDATE: Feb 1, 2014

Actually, the circuit works much better than expected  :-)

The Circuit is still on the Test Fixture
Normally, Power is applied to the top Power Pole Connector
and a Solenoid will be attached to the lower Power Pole

LED Indicates that the Output is ON

--

Monday, January 13, 2014

PCB Milling Process - Bookmark

I have always created my PCB's via the DIY Toner Transfer Method, or sent them out to a professional manufacture service. But the prospect of using a small mill has always intrigued me for use on some of my larger one-off projects.

The following bookmark and video is saved here for my future reference. https://www.youtube.com/watch?v=xz4LCIJyd2A


This fellow has created excellent video of his Double Sided PCB process with very good results.

I may have to consider another shop investment. :-)


BTW: This is my first "included video" within my blog, . . . I like it, and I will plan to include others as appropriate. Who knows, I may film one of my own !

--

Friday, November 15, 2013

WIFI for Our Projects

I remember reading (many years ago); With the invent of the Internet, we would eventually have many in-home devices that would be addressable and controlled via an IP Address. The prediction suggested that even the common Light Bulb would someday be networked.

To date, there are many "computer devices" that are controlled via an IP Address, and many of them are connected via WIFI.

But so far, many Light Bulbs (or LED) still do not have IP Addresses.  The big reason for this is the expense of the compute power needed by each addressable device. A computer or controller is needed to perform the complex network functions, like; TCP/IP Stack, DHCP. Authentication, and General Data Transfer. For most hobby project developers, the complex networking software development is the most difficult impediment.

But, a relatively new device, the TI CC3000MOD (at $20.00) does all the network hard stuff at a relatively low cost. The CC3000 is programmed and data is sent to/from a project device via a simple two wire SPI interface. The actual chip is a little hard to work with, because of its physical small size, board layout, antenna requirements, and soldering methods.

But, Adafruit.com has a new product which uses the CC3000 to make it easy to include WIFI Networking in a controller project.  (Yes I know, my blog is starting to sound like a Adafruit commercial, but they are one of the leaders, and provide some great inexpensive project components. And, No, as stated in other blogs entries, I do NOT work for them. I just really like some of their products.)

Adafruit CC3000 Breakout Board, with Integrated WIFI Antenna *
The Adafruit.com CC3000 Breakout Board (at $35.00) is a small pre-assembled board that can be attached to any project with only a simple 9 pin header. Programming, control, and data transfer is via the 2 wire SPI interface. Complex TCIP/IP stack programming is NOT necessary, as all of the hard work is done by the chip and/or included libraries.

Note: other configurations are available which include external antenna connector and Protoboard space.

I plan to order a couple to experiment with for my future projects.


* As stated before, the photos has been taken from the Adafruit web site without their permission, hopefully they will not mind for this use and recommendation.


--

Sunday, November 3, 2013

Trinkets

OK, my parts were received from Adafruit.com, see previous post.

The USB Power Gauge works as expected, it is very handy to check the charge rate on my Cell Phone, and for checking power consumed by any USB device, including my Raspberry Pie and/or the BeagleBone computers. The USB Power Gauge provides information that is otherwise a little difficult to obtain.

I had also purchased three Adafruit Trinkets. I followed the recommended software (Ardunio IDE) install instruction, and modification needed for the Trinket. And then, I proceeded to "Brick" all three Trinkets (or at least that is what I thought). I have used the Ardunio Interactive Development Environment (IDE) many times in the past and was not expecting any problems.

Because the "Trinket" has only 512 Bytes EEPROM (boot loader ROM) part the loader (about 1.5K bytes) is placed in FLASH RAM, which leaves about 5.5K bytes for user programs.

While loading a user program into the remaining FLASH RAM, if something goes wrong, part of the boot loader can be overwritten, and therefore it is somewhat easy to "Brick" the Trinket.

Instructions are provide to "UnBrick" the Trinket, but that requires yet another Arduino and downloaded programs.

While reading many pages on the web trying to understand my problem, I discovered that for Linux machines may not support USB in the way that the Arduino IDE for the Trinket desires. The recommended method is to use a external USB Hub to connect the Trinket to a Linux computer.

It worked, . . . how or why, I do not know !!

The Trinkets were NOT actually Bricked, . . . they just looked and acted like it. While plugged into a Hub, they now respond as desired by the Arduino IDE.

My first task was, of course, to run "Blinky", the "Hello World" program.

Once that worked, I quickly put together the following CW sketch to send/blink "CQ" on the LED.


/*
  This Sketch Blinks CQ on the LED
*/
 
int led = 1; // blink 'digital' pin 1 - AKA the built in red LED

int WPM = 13; // Words Per Minute
int ditTime = 1200 / WPM;
int dahTime = ditTime * 3;

// the setup routine runs once when you press reset:
void setup() {
  // initialize the digital pin as an output.
  pinMode(led, OUTPUT);
  delay(2000);

}

// the loop routine runs over and over again forever:
void loop() {

    for(int j = 0; j < 3; j++) {
      dah(); // C
      dit();
      dah();
      dit();
      eoc();
      
      dah(); // Q
      dah();
      dit();
      dah();
      eoc();
    }
    eow();
    
    delay(10000);
}


void eoc() { // End of Charactor
    delay(ditTime * 3); // added to previous End-of-Char time
}

void eow() { // End of Word
    delay(ditTime * 7); // added to previous End-of-Char time
}

void dit() {
    cwpulse(ditTime);
}

void dah() {
    cwpulse(dahTime);
}

void cwpulse(int duration) {
    digitalWrite(led, HIGH); 
    delay(duration);
    digitalWrite(led, LOW);
    delay(ditTime);
}


// End   

A more complete and non-trivial CW sketch would be table driven, but this was quick-n-dirty just to just get something to work.

More complex and interesting programs will hopefully follow.

I think the Trinket will have a place in my bag of tricks, for small Ham Radio Projects. I am currently thinking of maybe a Beacon Trinket Shield, and/or a Tennis Ball Launcher Trigger Controller.

--

Saturday, October 12, 2013

New Products I Plan to Order

There are two new little products that will make my planned projects easier, both less than $10 each.

The first is a little (inline) USB Power Gauge:

I have several (many) small battery-powered devices that are Charged or Powered via their mini or micro USB connection. For example: a cell phone, mini speakers, keyboards, video cameras, micro-controllers (e.g., Rpi), and several others. I think standardization of chargers and/or power for some devices is great for users, but.

I find that sometimes information is lacking regarding the state, or status, of the device being charged. The devices idiot power LED does not always tell the story. On some devices, the battery does not seem to take-a-charge, or it charges very (maybe too) slowly. The charge rate is typically dependent on the USB charge voltage, the active Application current draw while the device is being charged, or some other unknown reason. I have waited overnight for something to be charged and disappointed with the results the next morning. Without a meter it is difficult to know what is going on, or how to fix the problem.

Adafruit.com is producing a new "USB Power Gauge *" and it will be inexpensive. I plan order one when they are available (in maybe 10 days or so).

Adafruit USB Power Gauge *

The second new little product is a small "Adafruit Trinket"; an Arduino-Like Project Controller:

The Adafruit Trinket has some very interesting spec's, and will be just the right size, with a small pin count, for some projects that I have in mind. With this controller and a simple Arduino Script, all of our Ham projects can be made "smart".  The Trinket can be purchased for 5 Volt or 3.3 Volt circuits. I will include several of these when I place the order from Adafruit.com.

 Adafruit Trinket - A Very Small Project Controller *

* Images were obtained from the Adafruit.com's Web Site, without their permission. Hopefully they will not mind for this endorsement. I do not work for Adafruit, I just really like some of "Lady Ada's" products.


UPDATE: Oct 17, 2013
Parts are now on order.
I also added the following to the order:
Heatsink Thermal Tape - http://www.adafruit.com/products/1468
Heatsink - http://www.adafruit.com/products/1493


--

Sunday, September 22, 2013

RS Clip Leads

Recently while working on my Boat, I was tracing, replacing, and testing some indicator lights on the DC Control Panel. Most of the original plastic lights holders were broken at the panel. I decided to replace all of the indicator lights with LEDs.  While at the local Radio Shack store to pick up a single White LED, I notices they have a nice neat pack of four 30 inch Clip Leads - just what I needed to help with the task. And besides, a set of clip leads could be handy to have on the boat.

Radio Shack - Clip Leads
But DANG!, the Radio Shack Clip Leads are almost impossible to use, the plastic shield around the clips is very slick inside, and trying to clip on to something is almost impossible. The clip rotates inside the shield when trying to open the jaws. WHAT A PAIN!  I wonder how the "uses test" designer engineer, managed to build such a useless product !

Out of frustration, I quit using the Clip Leads.

Later while thinking about the manufacturing process and thinking that they may have put a "release agent" within the shield to help de-mold them. Maybe they used something like Silicon Grease?

What was needed for my Clip Leads, was a way to remove the release agent, or change the inside texture. I thought about that a while, . . . and came up with an easy workable solution.

I put a sprinkle of "Sandblasting Grit" inside each shield.

It worked like a champ!

Although, I was a little worried about transporting a small plastic bag of white powder (grit) to the boat :-)

--

Saturday, September 21, 2013

Routers

The last few days, I have been in "Router Hell" or "Router Heaven", with a little Amateur Radio thrown in ( but, . . . it all depends on your perspective ! ).

I have two "routers", one in my Shop/Hanger, and one in my Boathouse. The two sites are about 12 miles apart. Each router has had it own difficulties that I should have corrected before this.

For the last few months (actually longer than that), I have been having problems with my Shop network. It sometimes would get very slow, my connection from the Shop to the Internet is via;
  1. First, a short RF hop to my neighbors house,
  2. another RF longer hop to the local ISP house.
  3. and then a long RF link to a mountain about 10 miles away,
  4. then another RF Link back down the mountain (another 10 miles) to the Longhaul ISP servers shop,
  5. and then wires into the city of Everett, where it finally meets the Internet.
As you can see it is not exactly a pretty sight.

But, because I do NOT have good tools or insight to the actual Radio Links, it is difficult for me to test the network and know where there is difficulty. Just when I feel I-have-had-enough, it starts working very well and I forget my frustrations.

The WiMax connection at the Boathouse is also slow, but I attributed that to my CLEAR Wire Modem location, which is necessarily located in a window between metal boathouses, with only a small RF window to an unknown tower location. Sometime it is slow and miserable to work with. The Boathouse Router/WiFi Access Point (WRT-54G) is directly connected to the CLEAR modem. The Security Configuration prevents others from using my allotted bandwidth.

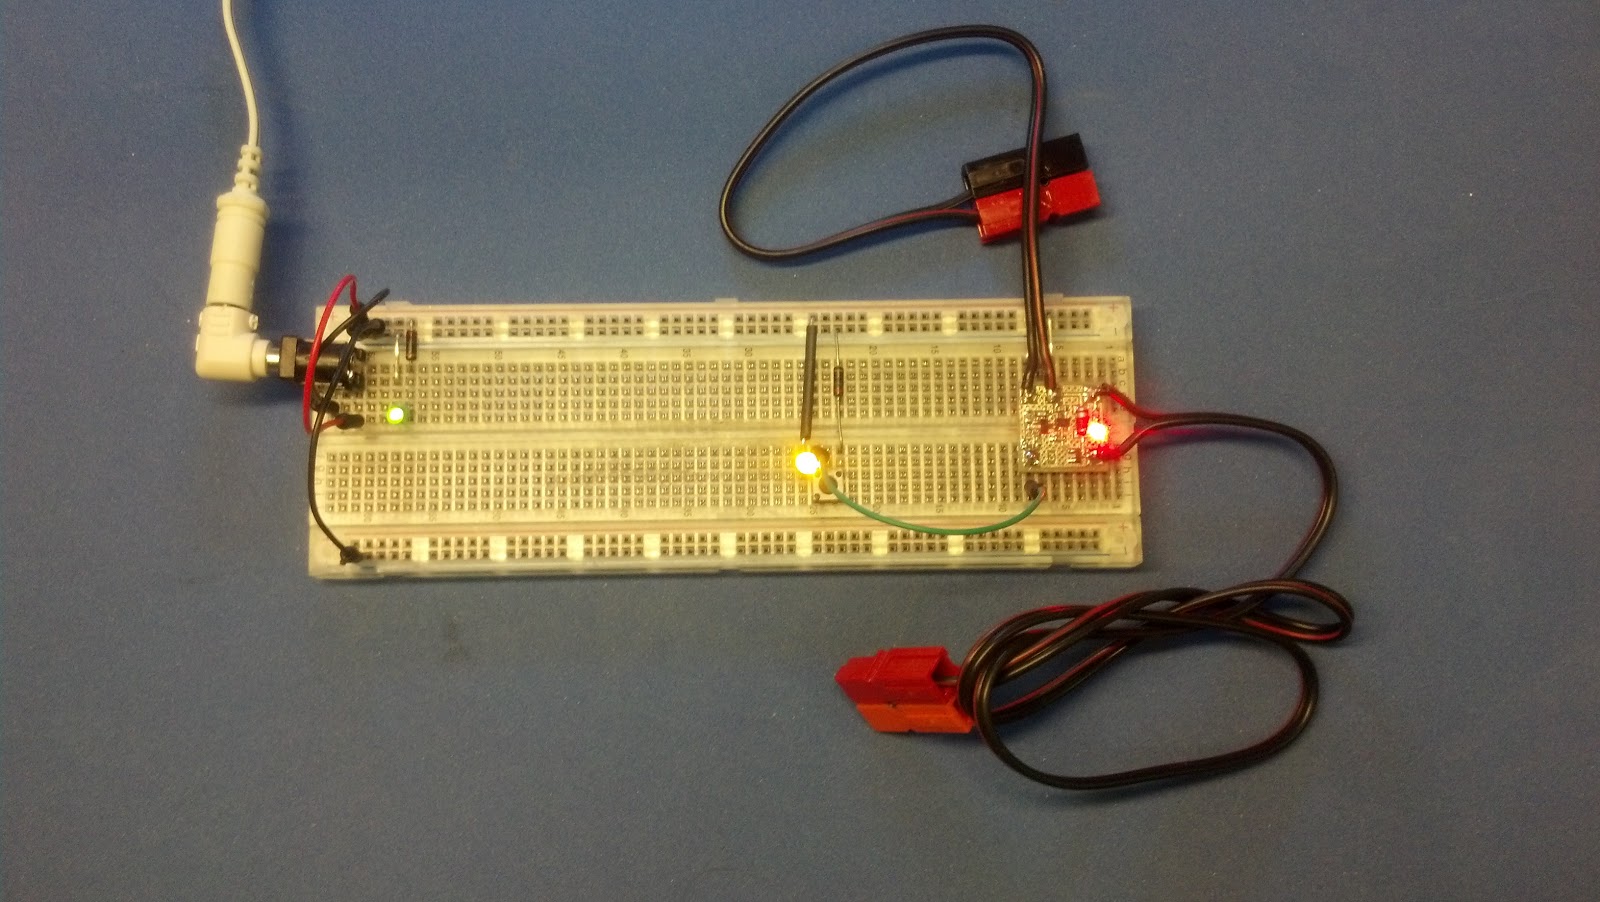
Then, it finally it happened, . . . the Shop/Hanger Router stopped working, a 100% Failure - it was NOW time to fix things.

My local ISP (a support guy in the airpark), gave me another "used and different router" to try. He provide the basic configuration and checkout, but I would have to configure it for the "non-standard" way that I use routers. At first, it seamed difficult to find the router admin web pages to configure the functions that I needed. But a Google search (to the rescue) provided the information I needed, and a lot, - LOT more. My "new" router is a "Buffalo WHR-G54S Air Station" and it uses an Open System operating system, known as "DD-WRT".

With the new found information, I was able to easily configure my router with:
  • WiFi Station Channel and Security
  • NAT (Network IP Address Translation)
  • PAT (Application Port Address Translation and Redirection)
  • DHCP
  • DHCP, with some preassigned Static IP for a few devices
Google provided lot of additional information, like; how the DD-WRT can be downloaded to many standard commercial routers - Including the router that I use a the Boathouse.

One difficulty that I had in the past with my old router at the Boathouse, I could not configure my router to do "PAT" and therefore I could only have one device that would occupy a single inbound port. For example: "ssh" uses port 22, but I wanted to place several devices (e.g., Raspberry Pie and Beaglebone computers) in the Boathouse. I could have done it, but each would have to be specially configured to use yet another port for similar services. Which means each would be unique and difficult to quickly manage. Ideally, port management is done via "PAT" in the router where it belongs. My dumb old Boathouse router can not do "PAT".

Plus, by the end of the month, CLEAR will no longer support Static IP for my area, I will have to reconfigure my Domain Name to use Dynamic DNS, that is if I want to continue to use and access the Boathouse via "network known" addresses. I have already figured out the necessary changes to the CLEAR modem configuration.

So, I downloaded the Open Source "DD-WRT" for my router, with "only" some difficulties. I now have a new OS running on my router in the Boathouse, using all of the above service and configurations. I have already moved my Rpi web server to its new location, with a little Dynamic DNS service magic, it appears as always at: "http://rpi.wa0uwh.com:8040".

Google also provided another interesting Amateur Radio use of routers, via the Open Source efforts started by the DD-WRT group. The routers are being reconfigured as a "Mesh Network", very similar to the old "Packet Radio" network (I think I have my facts straight). As it turns out WiFi channels 1-6 overlap the Amateur Band, and therefore the devices can be used via "part 97". I need to learn more about this.

So, a short story - made long, after several days of work, . . . all-is-well with my routers (or as good they have ever has been).

Now, it is time for more reading about "Northwest Mesh Networks" !

--

Thursday, August 22, 2013

Larry's Hall Effect Project

Tuesday my friend, Larry - KB7KMO, came by for a visit and work in my shop.

Larry has been sailing around the world in his sailboat for that last few years. He returns to the Seattle area to see his grand kids and families. We try to get together at least once, each time he is in town.

For this visit, Larry had several projects that we worked on in the shop. He was in need of a way to monitor the output of his generator and/or other power sources that replenish his battery banks.

The Artwork and Toner Transfer
Ready to Etch
There are may commercial products that would work, but Larry wanted to try a custom solution. For this he has found several DIY projects that suggested Hall Effect devices to monitor current.

What was needed was a small DIY PCB to hold the Hall Effect device and the few other devices that provide the input for a monitor and display.

This PCB will be mounted on-or-near the power source. The Hall Effect device that Larry will be using is shown setting on the right edge of the PCB.

My previously used and blogged Toner Transfer PCB method was used to build the necessary remote boards. We used Inkscape to create the original artwork.

Larry Cutting the Reverse Side
Toner Transfer Image
Etching is simple; put the PCB in a ZipLoc Freezer Bag, with a small amount of Ferric Chloride, and then knead while under running hot water. For a 1 oz copper clad, the process takes about 4 minutes.

Larry at the Sink, kneading the bag while running Hot water
over it, which is filled with Etch and His board
The Cut boards,
Ready for Drilling
The Hall Effect device can handle a lot of current (+100 Amps) and therefore large pads were necessary. Additional copper strap will be used to increase the current handling abilities.

This is the first time I have tried making Toner Transfer PCB with large pads or Ground planes,  on my projects I normally avoid them by using cross hatch grid for the Ground Planes. Space for some small capacitors are also included for line conditioners at the remote.


Board Inspection
Larry will finish this project, when he returns to his boat, . . . somewhere on some distant, exotic tropical island paradise !

--